
This article covers
Why do we need biological stains for microscope?
Many biological specimens are near transparent and have very little contrast between the object and the surroundings. These kinds of specimens are difficult to see under a regular microscope.
Staining is the most common technique to enhance the visibility of your specimens by increasing the contrast. Stains or dyes can bind to certain types of components of the specimen by their chemical nature, resulting in highlighting these biological structures to stand out of the background.
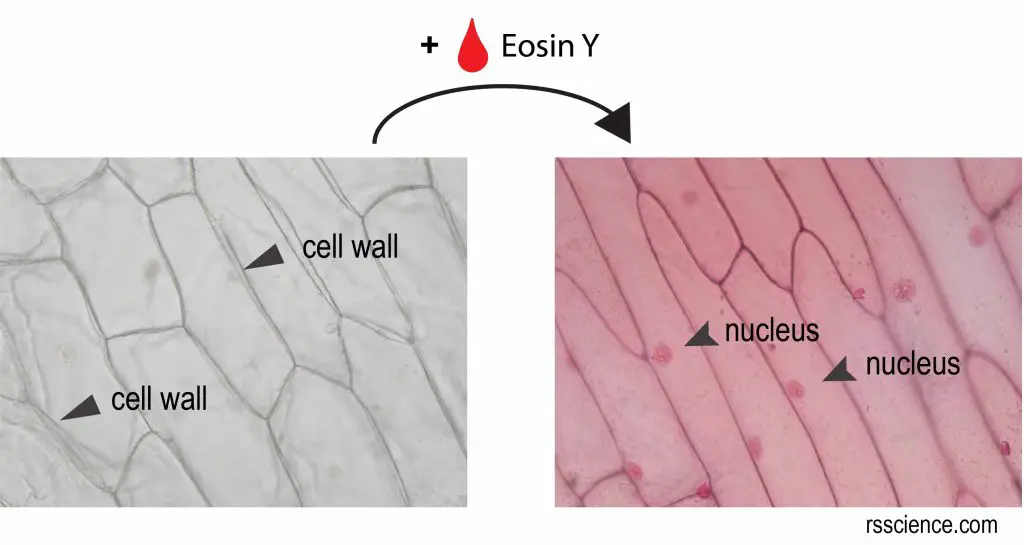
[In this figure] An example of using stains to visualize transparent specimens.
You can easily peel off a piece of onion skin. However, the skin tissue is quite transparent so you can only see the wells (or cells) separated by cell walls. With quick and easy staining of Eosin Y, the nuclei are now visible.
What can biological stains do?
Biological staining is an art of science. There are thousands of chemical stains and dyes that have been studied by the scientists to label specific components, for example, organelles (like nucleus and mitochondria), biological molecules (like sugar, lipid, protein, or DNA), and microorganisms (like Gram stains for bacteria).
More advanced techniques like antibody-based immunofluorescent staining (IF) and nucleotide-based fluorescence in situ hybridization (FISH) can go even deeper and distinguish one specific protein from thousands of other proteins (IF) or one unique DNA code from an unlimited combination of possibility (FISH).
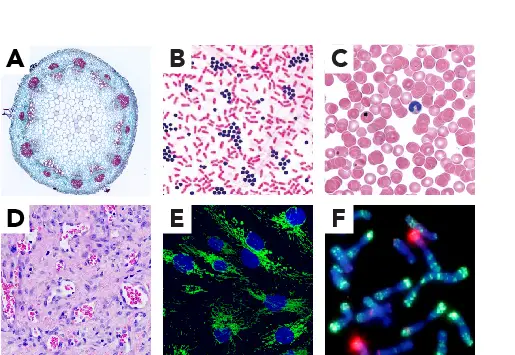
[In this figure] Various staining techniques are powerful tools for biological and medical research.
(A) A cross-section of Helianthus Stem stained with Fast Green, Congo Red, and Toluidine Blue. (B) Gram stains to distinguish gram-positive and gram-negative bacteria. (C) Wright-Giemsa staining of a human blood smear to show red blood cells and white blood cells. (D) Hematoxylin and eosin (H&E) staining shows blood vessels in mouse tissue. (E) Immunofluorescent staining (IF) of mitochondria (green) in human endothelial cells. (F) in situ hybridization (FISH) of two repetitive sequences on chromosomes of a wild wheat species; Credit: Dr. Pat Heslop-Harrison.
What can I do if I don’t have access to standard biological stains?
For amateur microscopy, we may not access to these new techniques and all kinds of chemicals easily at home. Laboratories usually obtain scientific-grade stains from scientific reagent suppliers or microscope specialty stores. However, ordering small quantities from these vendors may not be an economic choice. How can we obtain some basic stains for our habits?
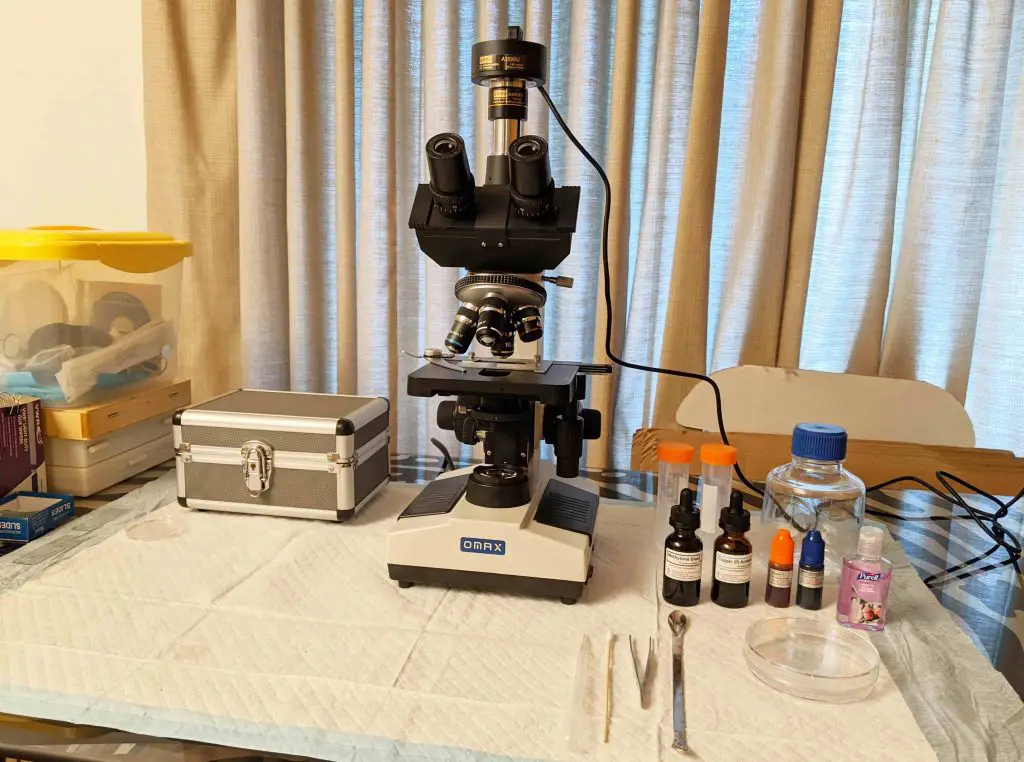
[In this figure] My microscope, tools and several stains
Luckily, some basic biological stains are now available online. I list some good choices at the end of this article. In the meantime, I would like to tell you another good news: you may already have some everyday items in your house that can be used as stains!
Methylene blue not only save your pet fish but also can stain your DNA
Methylene blue is a popular stain for staining animal cells to make nuclei more visible. Methylene blue binds DNA which is very abundant in the nucleus. Cells stained by methylene blue show the nuclei with deep blue color. It also helps cells show up against the background, so we can see their surroundings more clearly. The shape of the cells can help you determine what they are (their morphology).
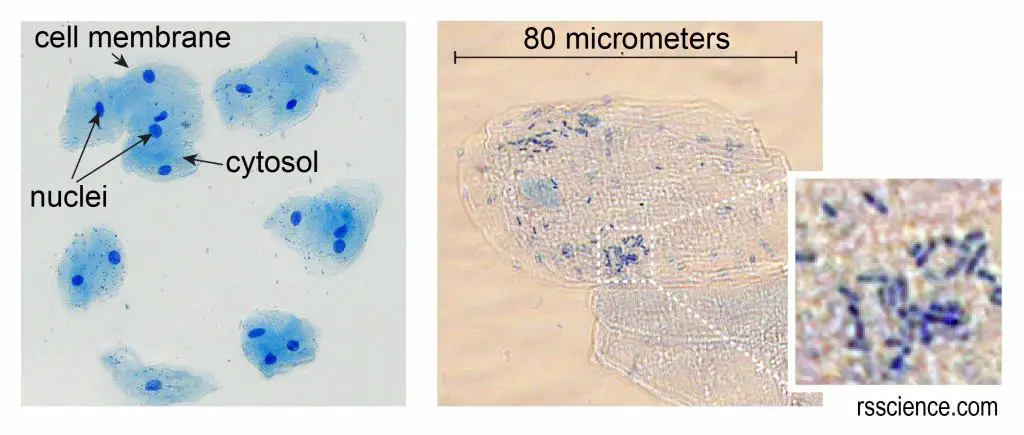
[In this figure] Check cells stained with Methylene Blue.
The left image is at a lower magnification. You can see the nuclei stained with a dark blue (because Methylene Blue stains strongly with DNA). The cell membrane acts like a balloon and holds all the parts of a cell, like a nucleus, cytosol, and organelles inside. The right image is at a higher magnification. You can also see some small rod-shaped bacteria. Don’t worry; they are normal oral microbes.
You can see our step-by-step guide to “Look at your cheek cells“.
Methylene blue is commonly used by aquarium hobbyist for treating fishes with fungal diseases. It can be purchased from pet stores or online. The concentration of Methylene blue for aquarium medication is around 2%. We suggest diluting it by add water at 1:1 ratio. This will bring the concentration to 1%, which is standard for biological staining.
[In this figure] Methylene Blue for Aquarium.
P.S. a few years ago, there was news saying that Methylene blue shows promise to reverse aging in human skin. However, we do not recommend you try that.
Malachite Green turn cells into Emerald gemstones under the microscope
Malachite Green is another common item that you can obtain from the aquarium store. It is used for treating a parasite disease called ICH (Ichthyophthirius Multifiliis; a species of ciliates) in fish. Malachite Green is also a dye with beautiful green color and used for fabrics, leather, and paper for centuries.
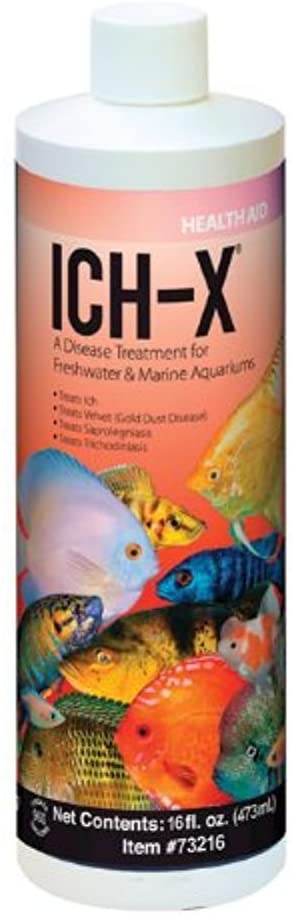
[In this figure] A common ICH treatment containing Malachite Green.
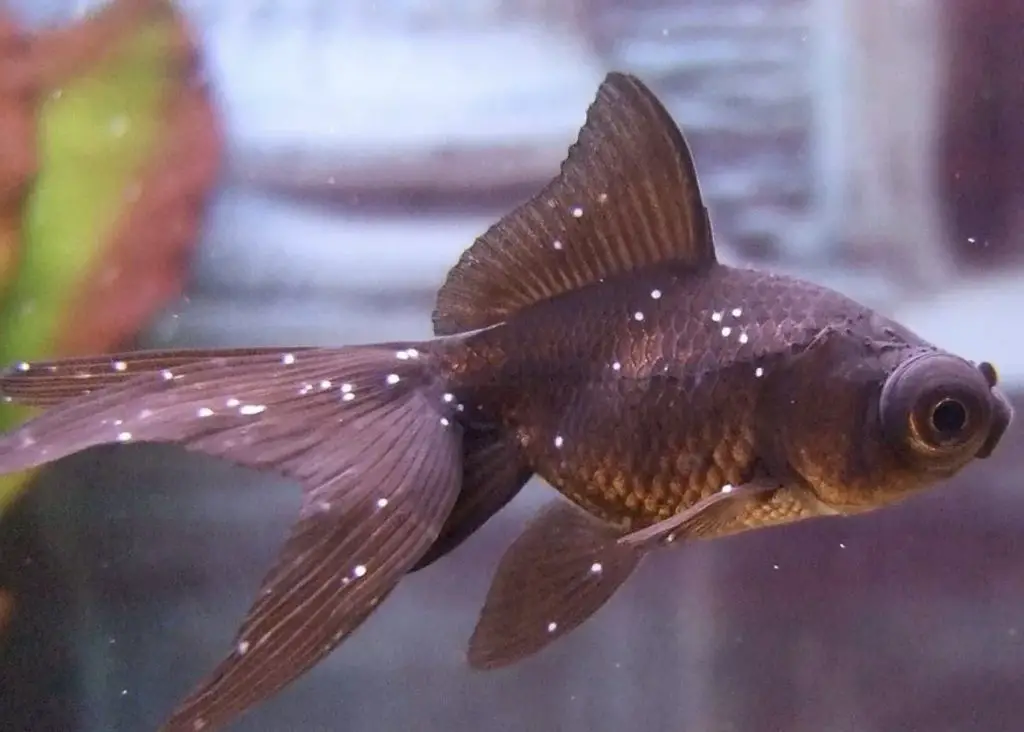
[In this figure] ICH is a disease in fish.
ICH (small white spots) is caused by the infection of parasites on fish skin. Credit: James Pickett
Malachite Green is a wildly used biological stain for microscopy. For example, Malachite Green can be used as a blue-green counterstain to highlight the boundary of bacteria and plant cells. Malachite green is also used in endospore staining because it can directly stain endospores within bacterial cells.
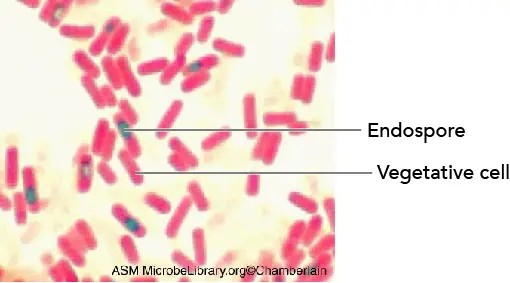
[In this figure] This is a preparation of rod-shaped bacteria called Bacillus subtitles.
Malachite Green stains the endospores with green color. Endospores enable bacteria to lie dormant for extended periods, even centuries. Actively growing bacteria (called vegetative cells) are stained with Safranin O.
P.S. Malachite Green has been frequently used to catch thieves and pilferers by sprinkling the money bills with Malachite Green powder. Anyone handling the labeled money will find that upon washing the hands, a green stain on the skin that lasts for several days.
Iodine marks starch
Iodine solution is common for antiseptic (prevent the growth of disease-causing microorganisms). You may already have one or two bottles of Povidone Iodine in the first aid kit at home. It can also be purchased over the counter at pharmacies.
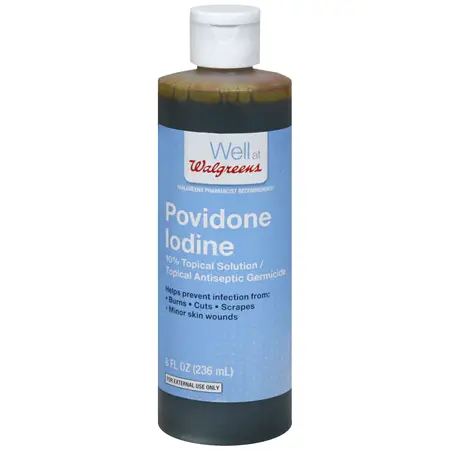
[In this figure] Povidone Iodine solution is a very common first aid item.
Ideal iodine concentration for biological staining is 1-2%. Although the bottle says it is 10%, you can turn to the content label on the back and you will see “1% Available Iodine”, meaning this Povidone Iodine solution is ready to use for our microscopic staining.
Iodine can be used as a starch indicator. Starch is a type of sugar (or carbohydrate) with long and branching chains. Starch is produced by most green plants as energy storage. Depending on the types of plants, starch can be found in their leaves, stems, fruits, seeds, and roots.
For example, both potato and sweet potato are delicious and rich in starch. However, do you know that they are very different parts of plants? Potato is a special thicken type of stems, called stem tubers. On the other hand, the part of sweet potato we eat is in fact its root, called root tubers. Very surprising, right?
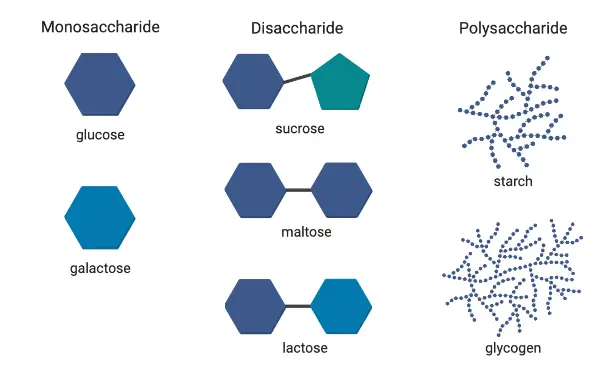
[In this figure] There are two major types of carbohydrates (or carbs) in foods: simple and complex.
Simple carbohydrates are made of one (monosaccharide) or two (disaccharide) basic sugar units. They are found in refined sugars, like the white sugar you see in a sugar bowl. Complex carbohydrates are long and branch chains of sugar units. They can be found in plants such as starch and in animals such as glycogen.
When in solution, iodine can react with starch to form purple color. When looking at the iodine-stained specimen, the dense colors indicate the area where the starch is stored.
Four ways to prepare microscopic slides of plant tissues with your cooking talent
Are you ready to try iodine (and other) stains? Before that, you need specimens that are thin enough to be able to see under the microscope. Here are four basic techniques to prepare a specimen of plant tissues (Yes, use your cooking talent!):
1. Peeling
You can peel off thin layers of tissues from leaves, stems, and onion skins.
2. Slicing
You can use a razor blade (be very careful) or a simple handhold microtome to cut thin sections of plant tissues.
3. Scraping
For potato and sweet potato, you can cut one in half and scrape a little of the potato (like a puree) onto the microscopic slide and add a drop of water. This can be done either with a knife, a spoon or with the fingernails. There should not be any large potato pieces on the glass.
4. Smashing
You can smash the root tip of onion into a thin layer of tissue between a microscopic slide and a spoon (be careful not to break the glass slide). The onion root tip smear is great for staining with iodine (for starch storage visualization) and with Methylene Blue (to see cells undergo mitosis). The same method can also be used in fruits (like bananas) and seeds (like corn kernels). Soaking seeds in water for a day may be required for some hard seeds.
Other dyes may use as topical medicines
The following items may not be as common as Methylene blue, Malachite Green, and iodine. However, if you happen to have one at home, it could be a useful biological stain.
Gentian Violet
Gentian Violet (also called Crystal Violet) is a key component in Gram stain to distinguish bacteria. It can also stain white blood cells because red blood cells do not take up the stain. Gentian Violet is sometimes included in the first aid kit as an antiseptic to prevent fungal infections.

[In this figure] Gentian Violet
Eosin
Eosin is a very useful stain in microscopy and may be used by itself or as part of one of the various staining such as Hematoxylin and eosin (H&E). Eosin stains cytosol and certain matrix outside the cells with pink color. Eosin (2% water solution) is extensively used in several European countries for diaper rash. However, in the USA, zinc paste is common.
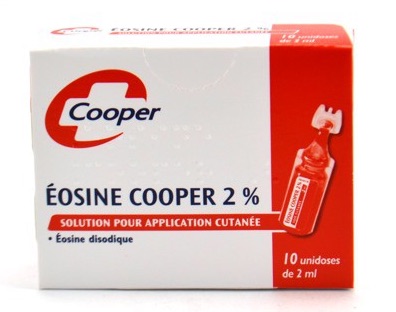
[In this figure] Eosin solution
What makes cupcakes look delicious can also make your microscopic slides colorful

Be creative! Food coloring can also be used for your microscopy hobbit! If you like baking cakes, you probably have some food coloring additives in your kitchen.
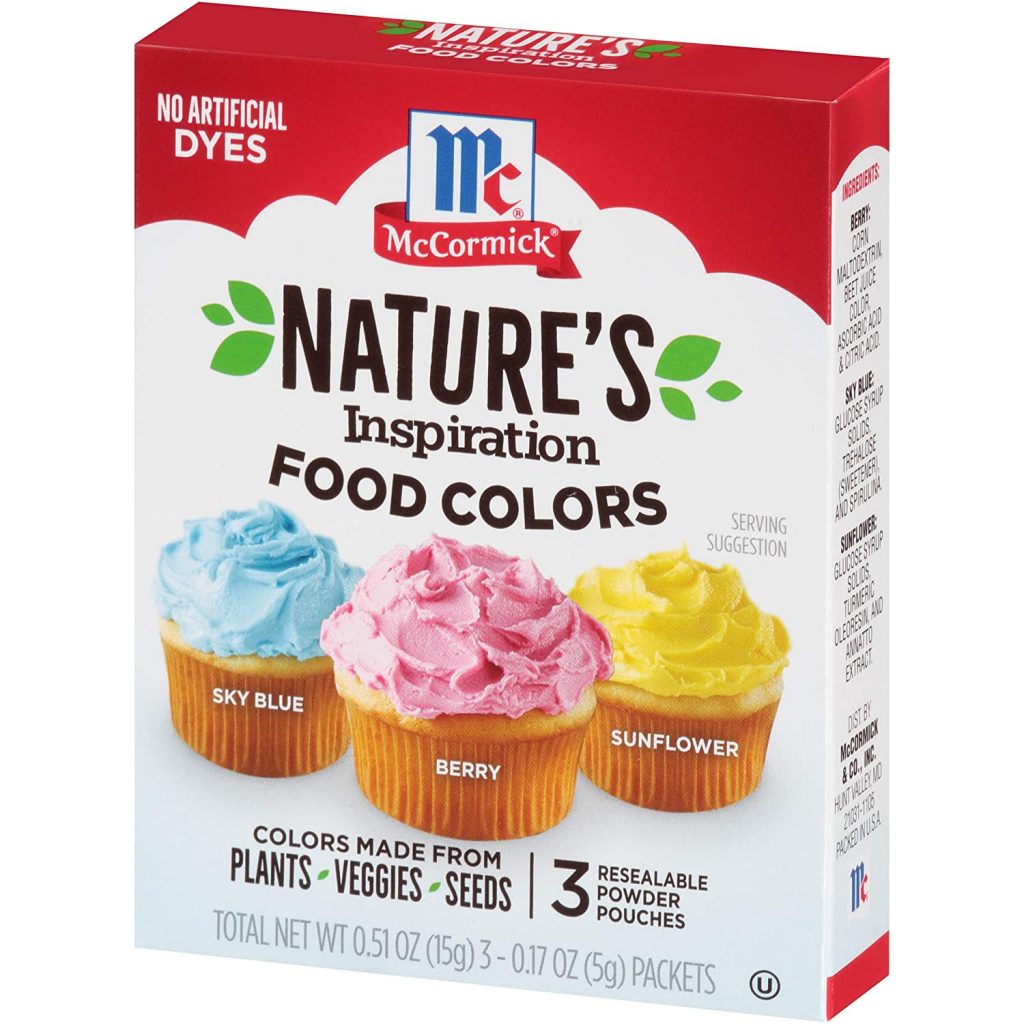
[In this figure] food-coloring dye
Red No. 3 (Erythrosine)
Red No. 3 (Erythrosine) is a cherry-red coloring commonly used in candy and cake, has a property similar to Eosin Y, which gives a counterstain of cytosol.
Green No. 3 (Fast Green FCF)
Green No. 3 (Fast Green FCF) stains proteins and can be a good counterstain for plant tissues.
Blue No. 1 (Brilliant Blue)
Blue No. 1 (Brilliant Blue) is the same one used in biochemistry laboratories for measuring protein content. You can use Brilliant Blue to stains biological samples that are rich in proteins, like bacteria.
Blue No. 2 (Indigo Carmine or Indigotine)
Blue No. 2 (Indigo Carmine or Indigotine) can be used to substitute Trypan Blue to distinguish live and dead cells. Healthy cells have intact cell membranes to stop Indigo Carmine entering the cells and therefore look unstained. Dead cells are leaky so they will be stained by Indigo Carmine.
Yellow No.5 (Tartrazine) or Red No. 40 (Allura Red)
Some other food coloring like Yellow No. 5 (Tartrazine) or Red No. 40 (Allura Red), may not be that good as a primary stain for cell components. However, you still can use them as a counterstain to add visual contrast, such as by providing a background for structures that have taken some other color.
P.S. Several food-coloring additives are also pH indicators (mean they change color in acidic or basic solutions). You may like to test by adding some vinegar, lemon juice (both are acidic) or baking soda (basic).
You are also encouraged to try all kinds of “natural food coloring” like beetroot juice, saffron, and even matcha! The natural food coloring is nice because it doesn’t kill the cells, which is handy and safe for observing transparent pond microlife like Amoebas, rotifers, and ciliates.
Looking for the colorful corner in your study room
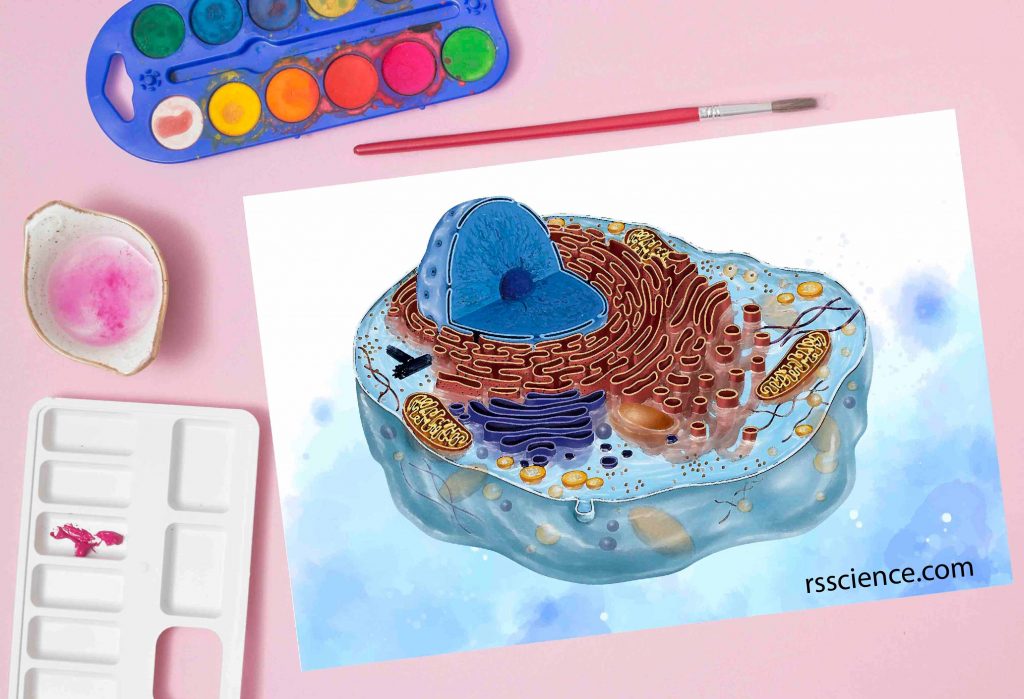
Do not forget your art supplies like inks and watercolors. Although they may not stain specific cell components, you still can use them to enhance the contrast as counterstains. Since most biological samples are watery tissues (water is accounting for 70% of the weight of our cells), water-based pigments will work better. Oil paints or acrylic paints may not be compatible.
Conclusion
Hundreds of years ago, when the microscope was just invented, no one knew how to stain the cells. The scientists tried, experienced, and put what they found in records, and slowly learned the knowledge of biological stains of microscopy.
Now, we probably have hundreds or even thousands of colorful chemicals that can be used to study every aspect in the microscopic wonderland. I want to encourage you to try, just try and try, anything you can think of. THIS IS THE FIRST STEP OF SCIENCE!
Reference
http://www.crscientific.com/microscope-stain.html
Very cool ideas! Thank you.