
A microtome is a powerful tool to cut extremely thin slices of material or sections. It is important for the preparation of samples to be observed under the transmitted light of microscopes. Professional microtomes in the laboratory could be extremely expensive. However, I want to show you a simple handhold microtome that may not be that precise and perfect, but it can let you test the water first.
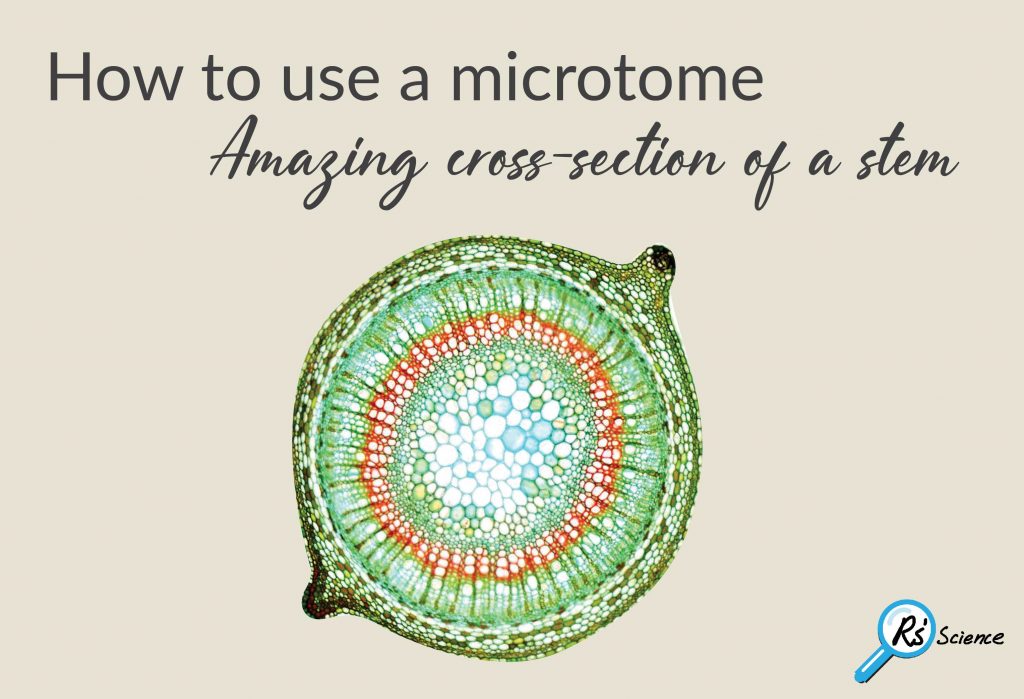
A good practice is to cut the cross-sections of a plant stem from your garden. Look at these cross-sections under the microscope to find the amazing cellular structures like the feature image.
Note: More sophisticated handhold microtome can also be purchased from Amazon under $100.
How to use a microtome
How to use a microtome
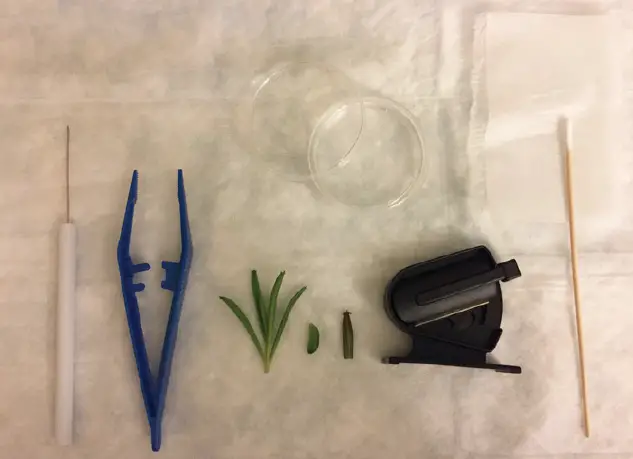
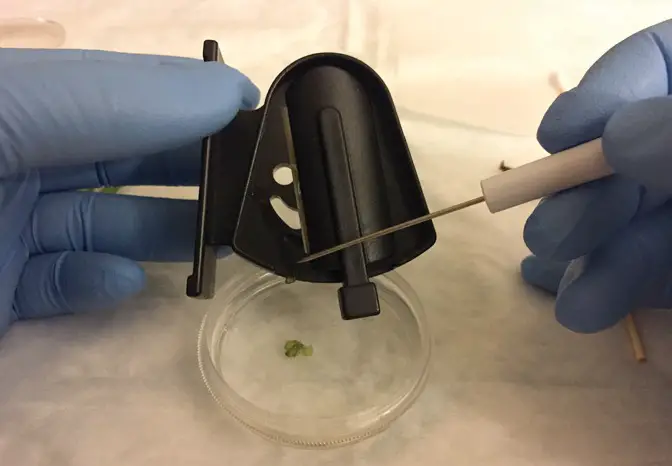
- Prepare the tools, including a microtome, a dissecting needle, tweezers, a Petri dish with water, cotton Q-tip and lens papers.
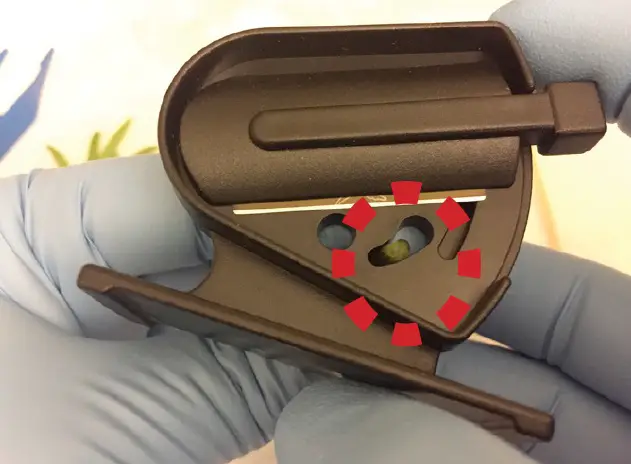
- Insert the plant stem samples from the bottom through the holes of the microtome. There are two types of holes. Choose the one suitable for your samples.
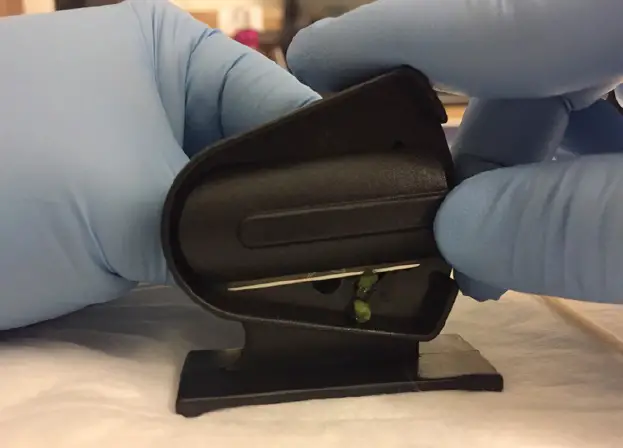
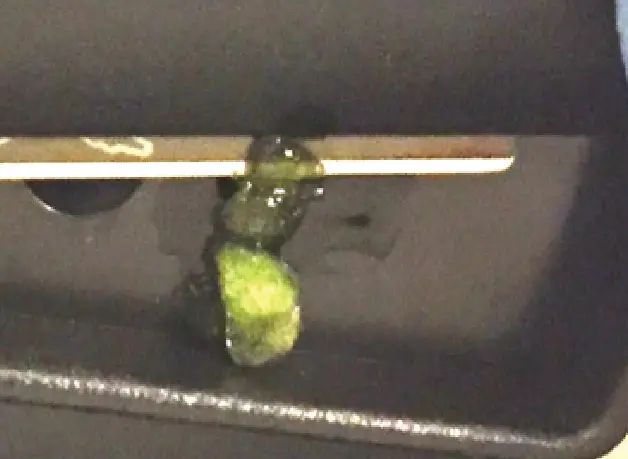
- Place the microtome on the table. Protrude the sample a little bit and rotate the blade to cut a thin section.
- The thinner the section, the better the microscopic view. It indeed needs practice to perfect the skill. You can cut several sections continually.
- Use a dissecting needle to transfer the sections into a Petri dish that contains water.
- Use a tweezer and dissecting needle to unfold the cross-sections. Let them float on the surface of the water.

- Then, you can stain the cross section of plant stems with Methylene blue or Eosin Y (or both) and start looking them under the microscope.
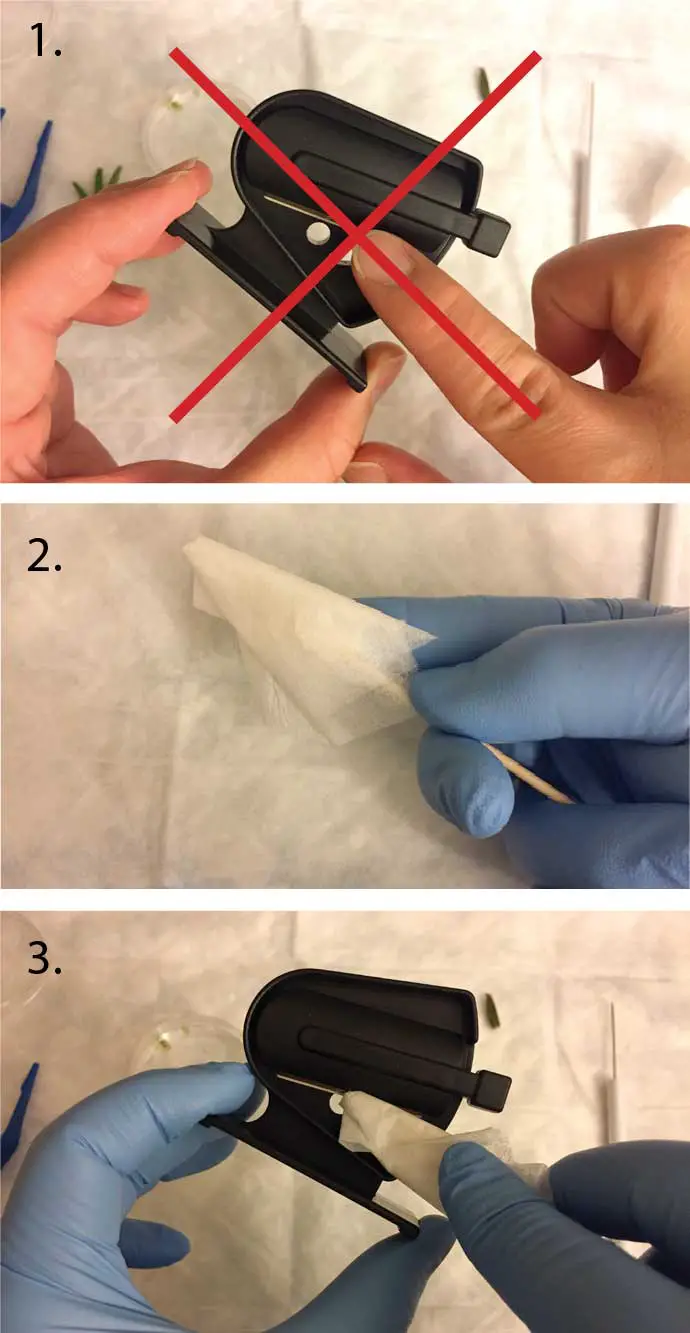
- After use, clean the blade immediately to prevent rust. Fold a piece of lens paper around a Q-tip and clean the blade. Keep the microtome at a dry place.
Note: Never touch the blade with your hands. Don’t try to replace the blade by yourself.
Bonus tip
If you want to cut a piece of thin material, like a plant leaf, using a supporting material makes your section much easier.
First, cut a piece of carrot or potato into a small cube that will fit in the handhold microtome. Then, a perpendicular, vertical slit is cut on the top of the cube, but not all the way through. Insert one piece of leaf into the vertical slit. Now you can process the thin material with a good solid support to cut a decent cross-section.

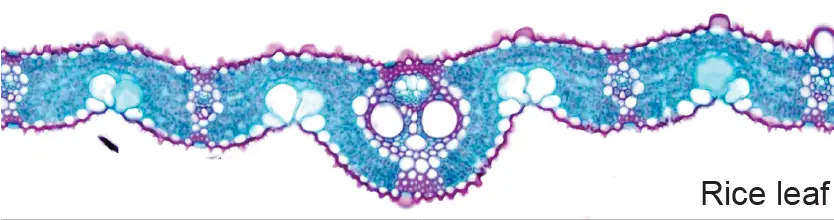
Below are a few examples:
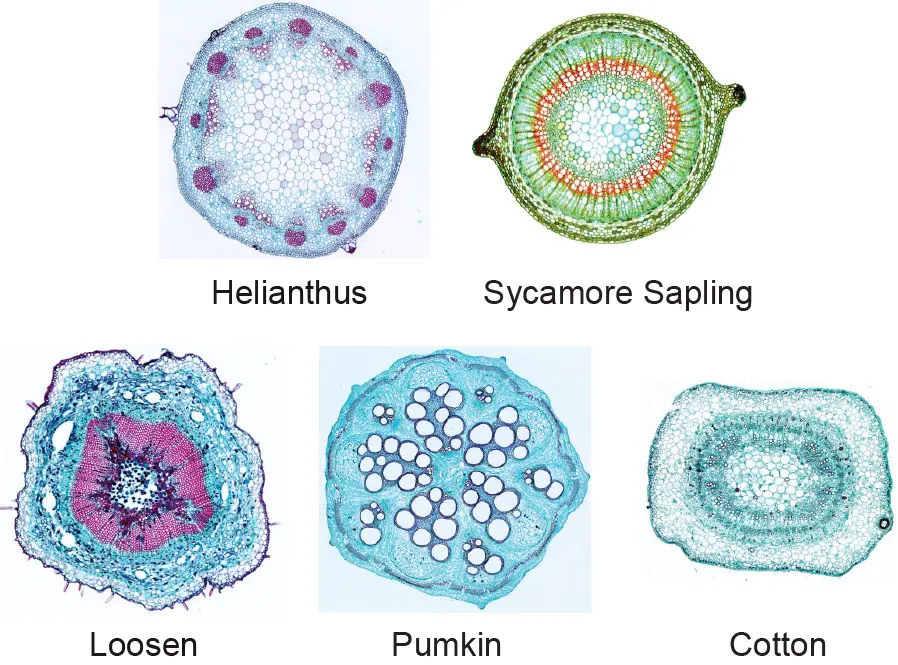
What does your cross section look like? Please share with us below!
Related posts
Lesson 5: How to Do Scale Casting with Clear Nail Polish & See “Microtopography”