
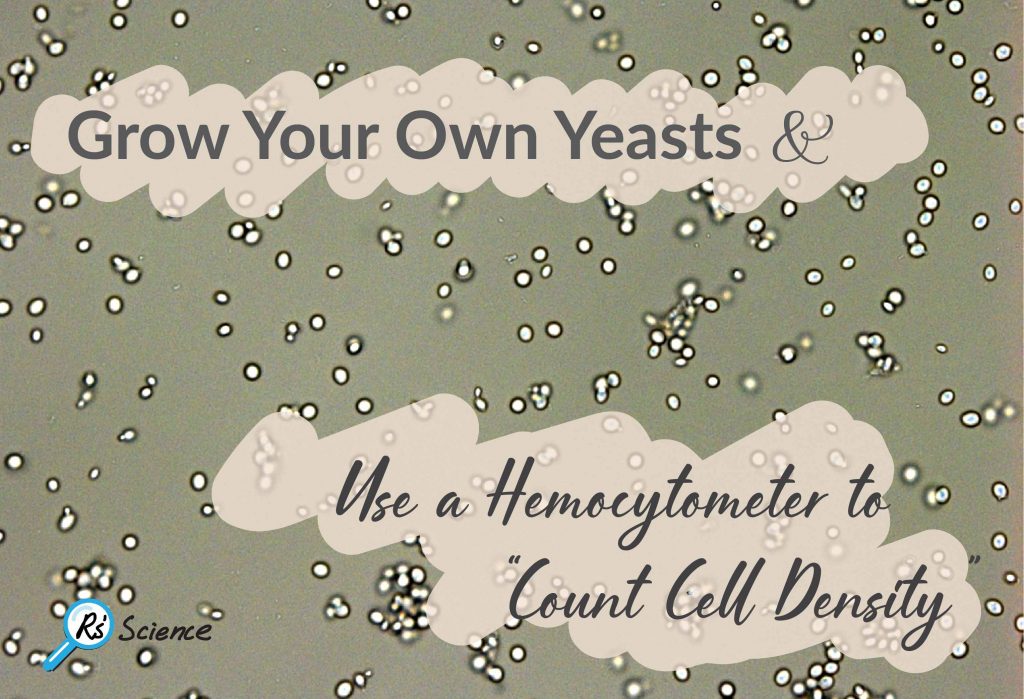
The importance of the yeast
The ability to grow a pure population of a certain type of “cells” provides tremendous value for both science and industry. A brewery is a perfect example. Brewing company grows yeasts, a microorganism which belongs to the kingdom of Fungus can consume sugar and then produce alcohol as well as carbon dioxide (CO2) gas. This process, called fermentation, is where the tasty beer comes from.
Many pharmaceutical compounds (like antibiotics) and food (like cheese, wine, vinegar, cider, soy sauce, miso, kimchi, etc.) are also fermented products of certain microorganisms. In this article, I would like to show you how to grow your first broth of yeast culture!
- Using a funnel, add dry yeast powder, sugar, and warm water into a bottle. Dry yeast can be found from the baking ingredient section of any supermarket.
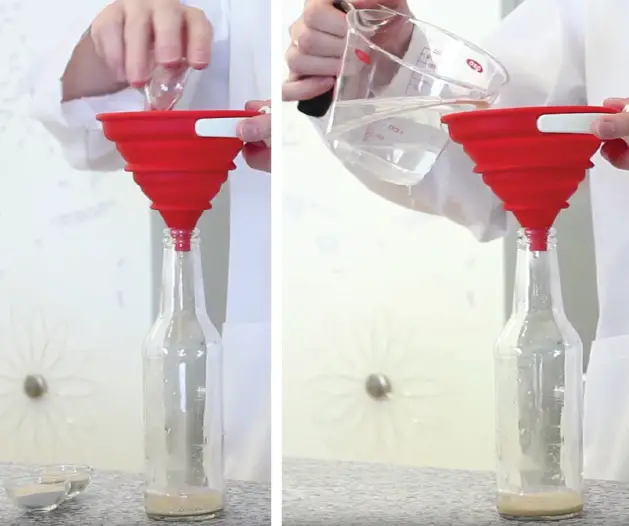
- Gently mix the ingredient. Then cap the bottle with a balloon to collect the gas produced from fermentation. Keep the bottle at a warm place (lukewarm).
Note: You can try different ratios between yeast and sugar. I suggest starting with one teaspoon each. You can also try a bottle without adding sugar and see what will happen.
Please leave at least 1/2 of the bottle space empty for the gas production.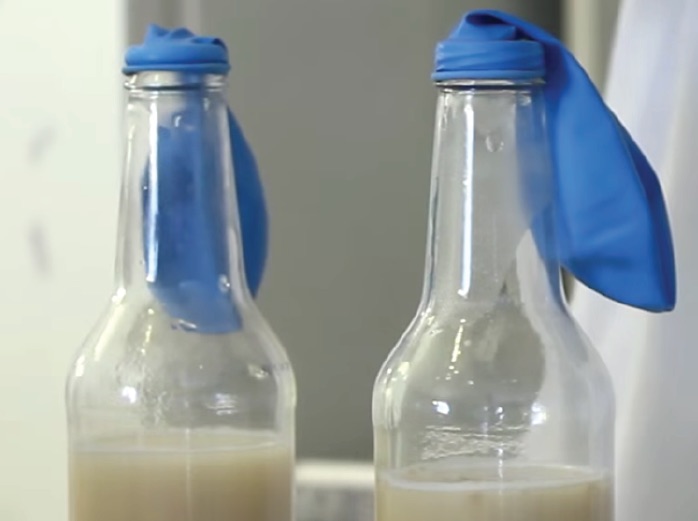
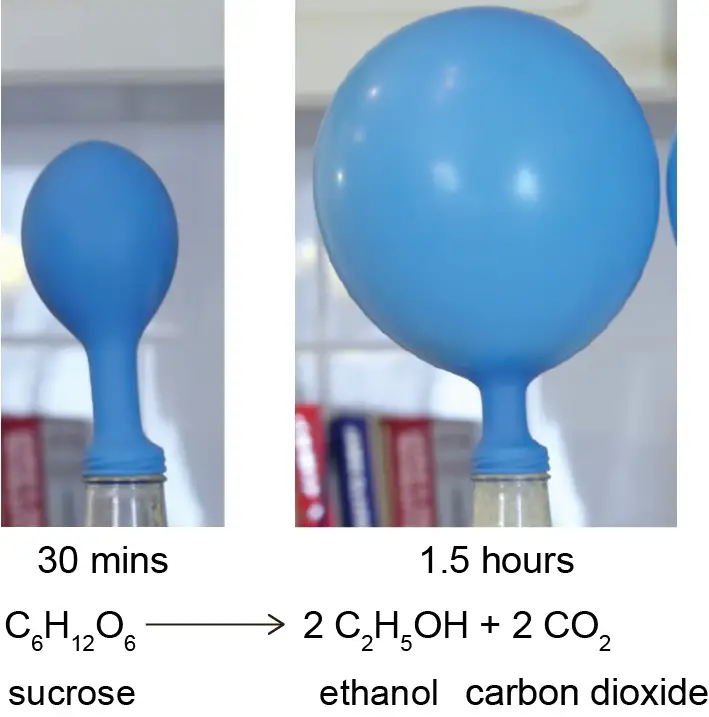
- Over the next few hours, the balloon will start to grow in size because of the accumulation of carbon dioxide gas.
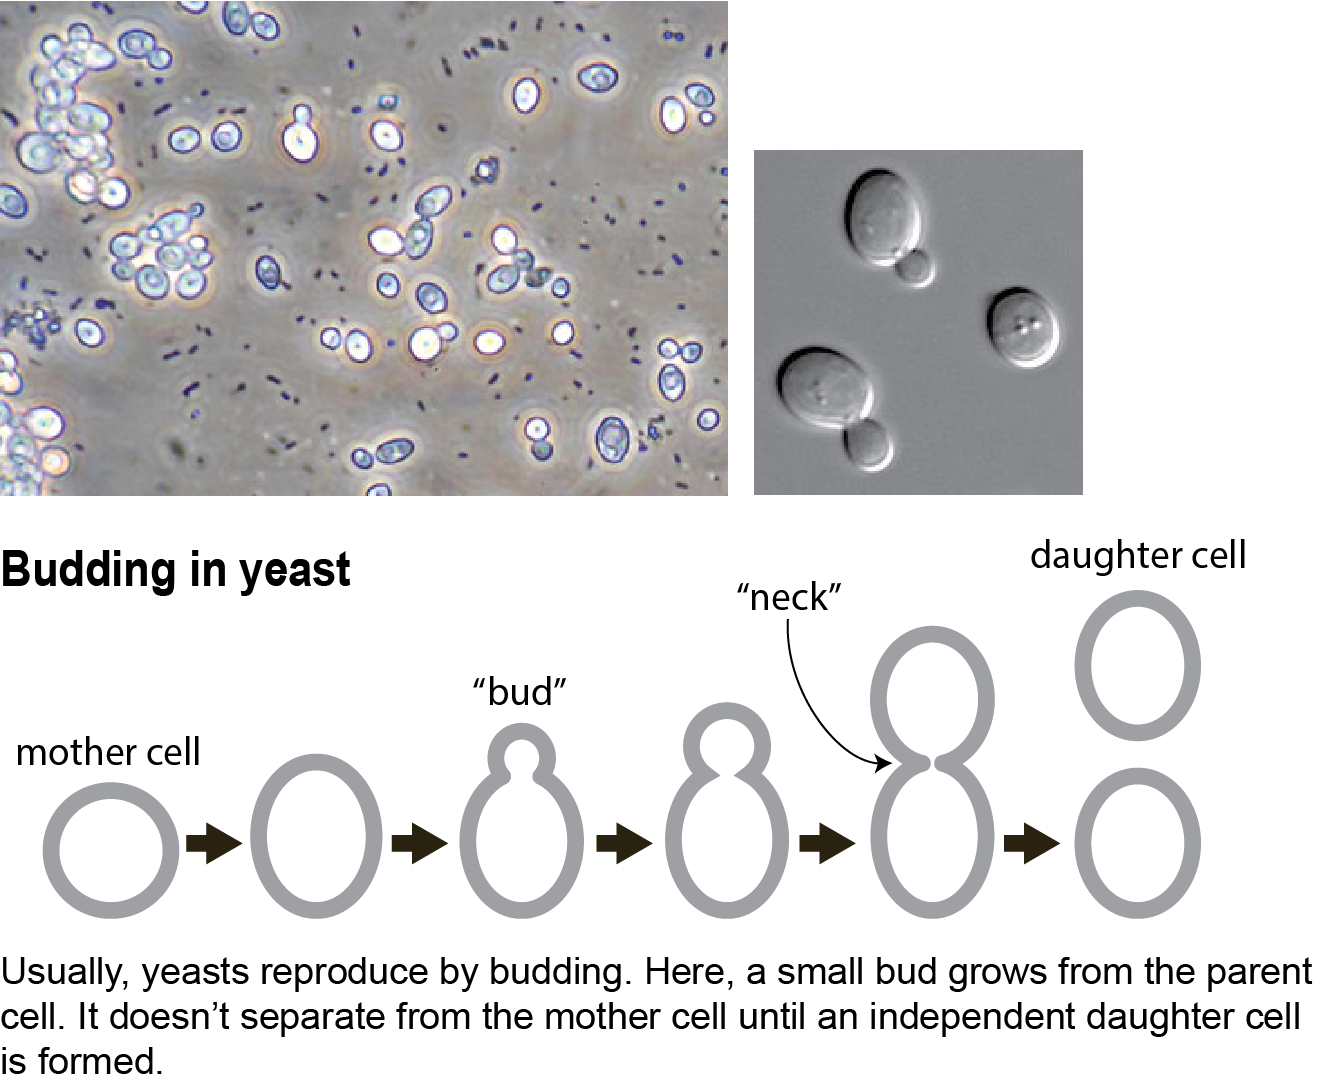
- Carefully remove the balloon (may not smell good!). Use a plastic pipette to transfer a drop of yeast broth onto a microscope slide. Mount it with a coverslip. Look under the microscope (high magnification) for the oval-shaped yeast cells.
- The hemocytometer is a counting chamber device originally designed and usually used for counting blood cells.
The hemocytometer can be purchased from Amazon.

- To use, place the coverslip over the counting surface. Introduce the cell suspension (10~20 μL or one drop) from the edge of the coverslip with a fine tip transfer pipette. The capillary force will drag the liquid to fill the area under the cover glass. Enough liquid should be introduced so that the counting surface is just covered.
- Using a microscope, focus on the grid lines of the counting area with a 5-10x objective. Count the cells in one set of 16 squares (1×1 mm square area; the blue line area). Move the hemocytometer to the next set of 16 corner squares and continue to count until all 4 sets of 16 corners are counted.

- To calculate the number of cells/mL: Take the average cell count from each of the sets of 16 corner squares. Multiply by 10,000. The final value is the number of cells/mL in the original cell suspension.
You can also see a demo video here.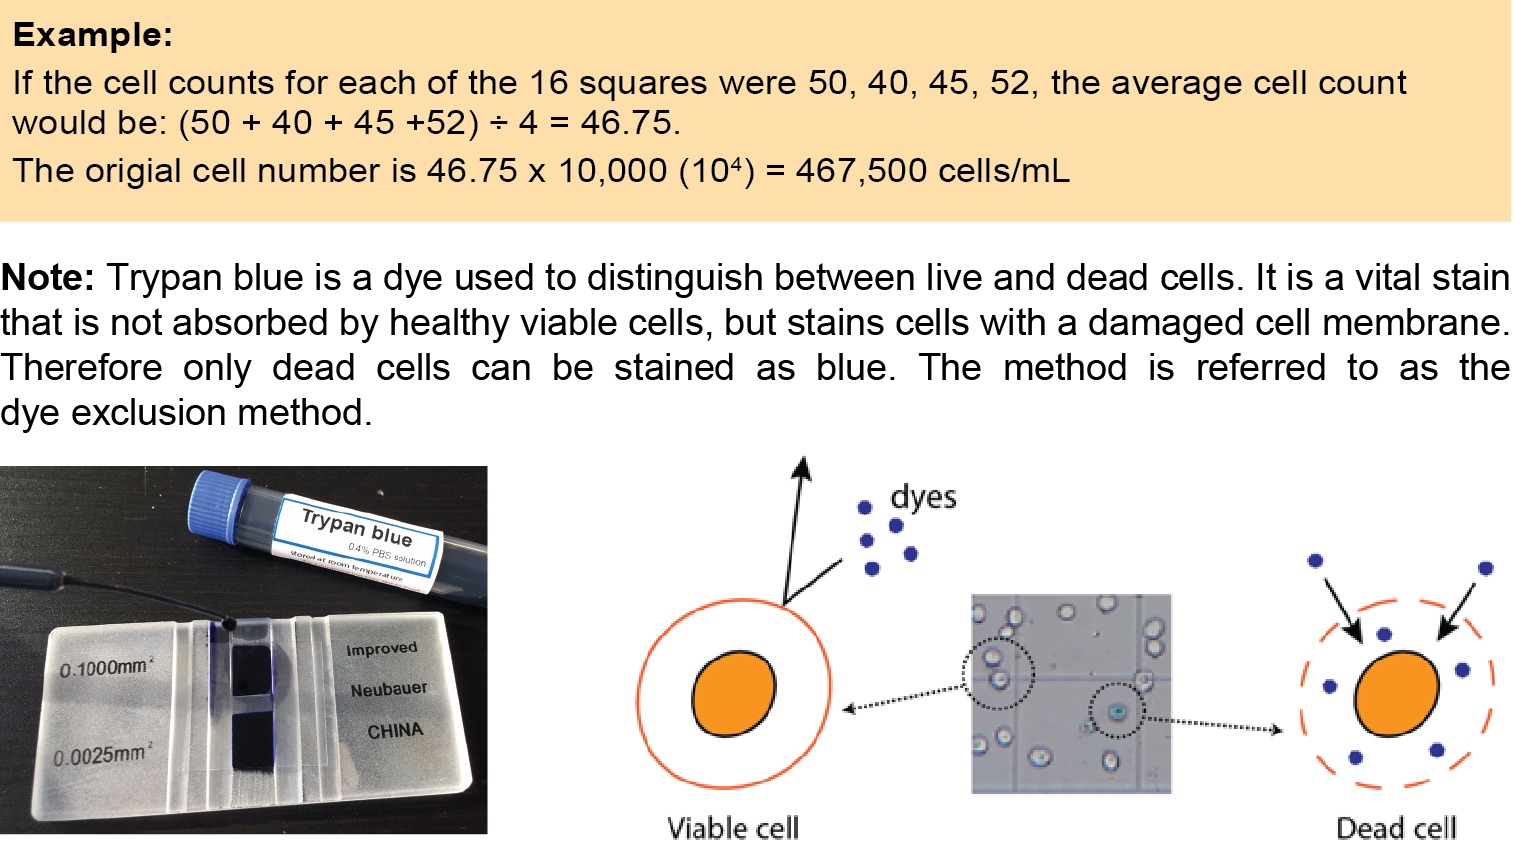
For more detail about how to use a hemocytometer to count cells, the application of a hemocytometer, and the history of a hemocytometer, please check our article – How to use a hemocytometer to count cells.
Do you have fun growing your own yeast? Please share with us below!